How to personalize the thank you message in your form?
"i want to edit the confirmation message with name or email or some number"- Google Docs Editors Community
After someone submits, the thank you message is your chance to confirm what they did: their name, what they chose, what happens next. Google Forms shows the same confirmation message to everyone and can't put their answers in it. With Neartail, you format the message and insert answers from the form, so each person sees their own name and choices when they submit. The message shows on your own branded page instead of Google's.
Let's start. Create your form and follow the steps below.
Write the thank you message
- On the page that opens, click Enter your form name, type a name and click Generate.
- Check the outline it suggests and click Proceed. Your form opens on the Edit tab.
- If it asks "Do you want to collect payment on form submit?", click No.

- Click the gear icon in the last row above the Submit button. That's the last After page row, or the After payment row if your form takes payment.
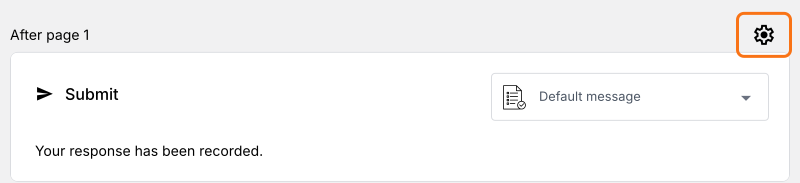
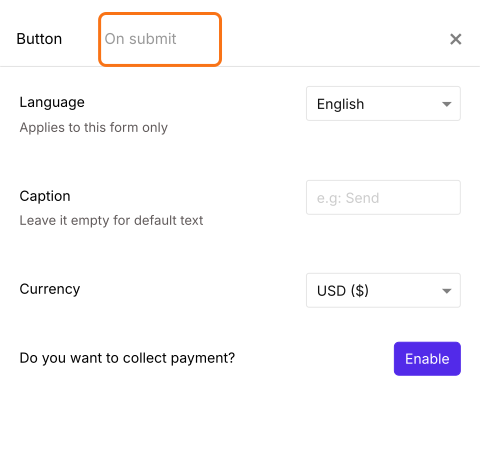
- Click On submit.
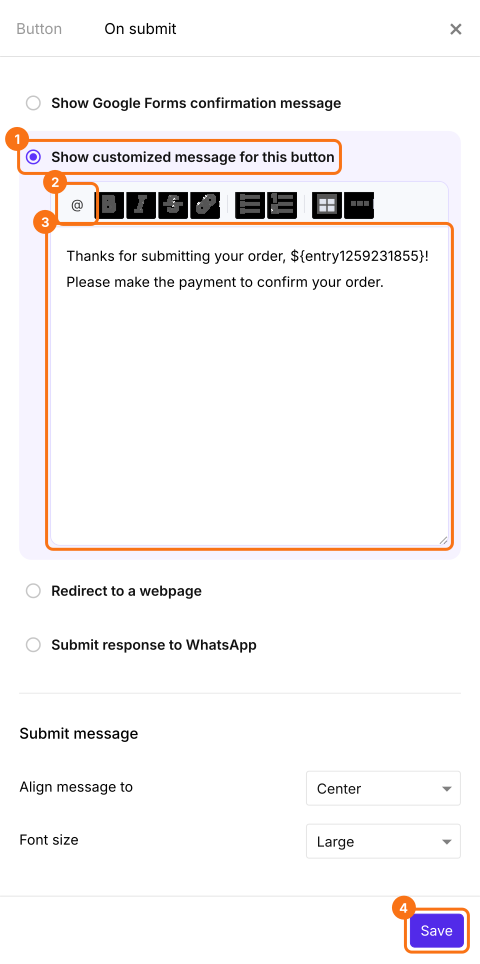
- Select Show customized message for this button and type your message. To put in an answer, click the @ icon and pick the question. It shows as a code in the box, and each person sees their own answer in its place. Click Save.
When someone submits the form, they see this message with their own answers in it.
Summary
Google Forms shows everyone the same confirmation message and can't use their answers in it. With Neartail, you format the thank you message and insert form answers, so each person sees a message about their own response. Create your form and complete the steps above.
Last updated: